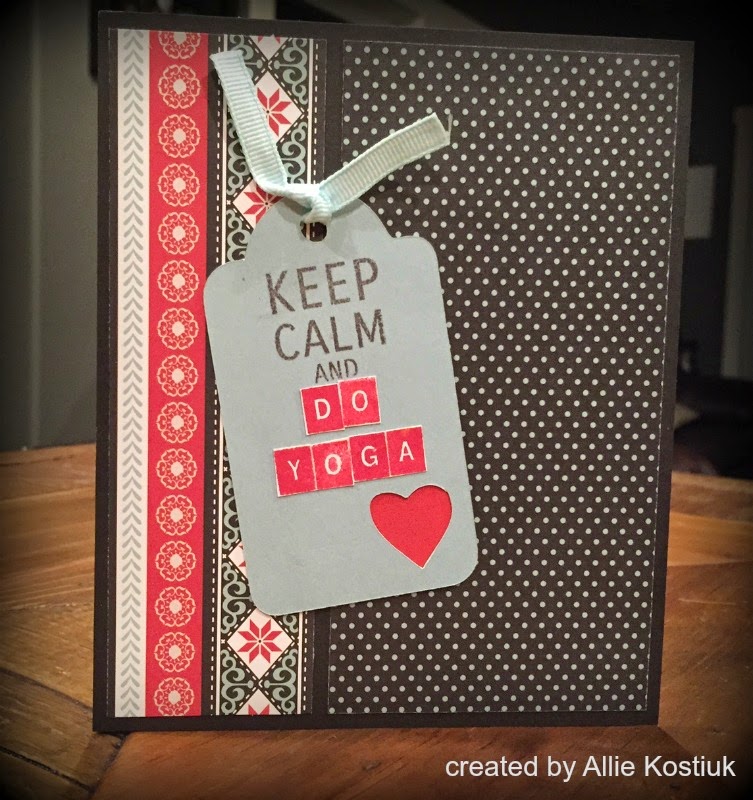
This week at Heart2Heart we are showing off our favourite embellishment. Mine, hands down, would have to be sparkles! Whenever I can, I love adding a little sparkle to my cards :).

I just had to play along with the fun bingo challenge over at Merry Monday this week. I actually used quite a few of the spots, but ended up completing a diagonal with Red + Ribbon or Twine + Emboss.

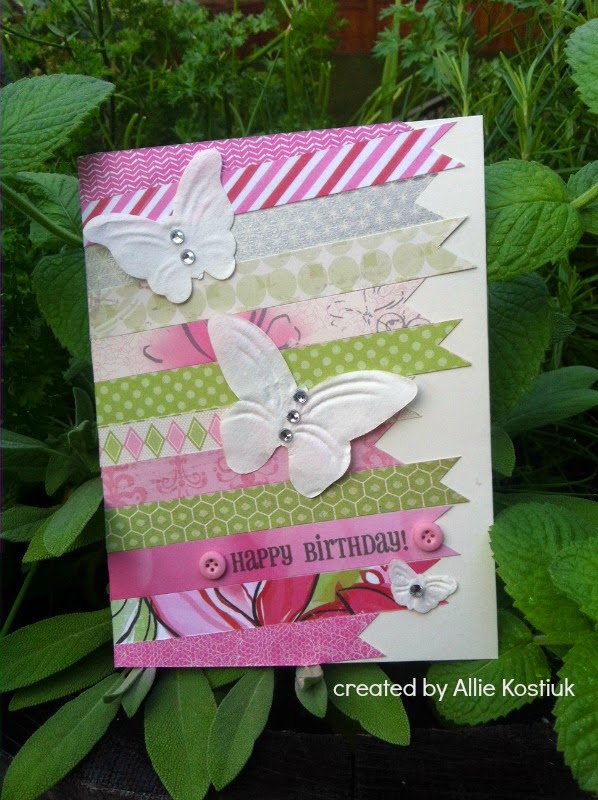
All supplies are Close To My Heart:
Paper - Kraft, White Daisy; Ink - Flaxen, Chocolate; Stamps - Merry, Merry;
Embossing Powder - Princess Gold; Ribbon - Burlap; Embellishments - Red Sparkles.