I had some time to play and just had to try out this beautiful solar paste on a dark background!
2025 Christmas Card Count: 50 + 4 = 54

All You Need Is Love In The Kootenays

I had some time to play and just had to try out this beautiful solar paste on a dark background!
2025 Christmas Card Count: 50 + 4 = 54

I am wanting to get better at using my water brush, so when I pulled out these sports balls to colour up, I decided to use it with my Tombow markers.

I have been wanting to try out some ink smooshing with acetate and distress inks so I took the opportunity to try it to make up some sympathy cards.

It's my day to post on the Studio Katia Blog! I wanted to continue to work on my Christmas stash, so I took out the Snowflake Shaker die from Studio Katia. I cut out three snowflakes in some kraft heavystock and spritzed them with some phantom mist distress mica spray. I also sprayed a kraft card base with the same colour and then added some white paint spatters and set aside to dry.

Good morning! I'm up on the Studio Katia Blog today sharing my Birthday Balloons Shaker Pocket Card. I started out by creating a base for my card using the Mini Slimline: Small Hearts Cover. I used some low tack tape to cover up the pierced detail around the cards so that I could maintain a clean white border. Next, I took out the Birthday Balloons Duo Stencil and inked up the first stencil with some Lost Shadow distress oxide ink using a blending brush. For the second stencil in the Birthday Balloons Duo Stencil set, I mixed some sparkle glitter with some black texture paste. Using a palette knife, I spread this mixture over the stencil. I removed the stencil to let the paste dry.

Good morning! I am up on the Studio Katia Blog today sharing how I used Black Texture Paste on the beautiful Mandala Stencil from Studio Katia to create two cards.

Good morning! I am up on the Studio Katia Blog today sharing my card featuring a recessed Darling Freesia. I wanted a simple design to feature this beautiful floral image and played around with my dies to achieve it. I started off with a watercolour card base and another white panel that was 4 1/4 x 5 1/2. I took that panel and used the rounded rectangle die from the Dotted Patterns - Set 3. I took out the Darling Freesia coordinating die and used it in the middle of that panel.
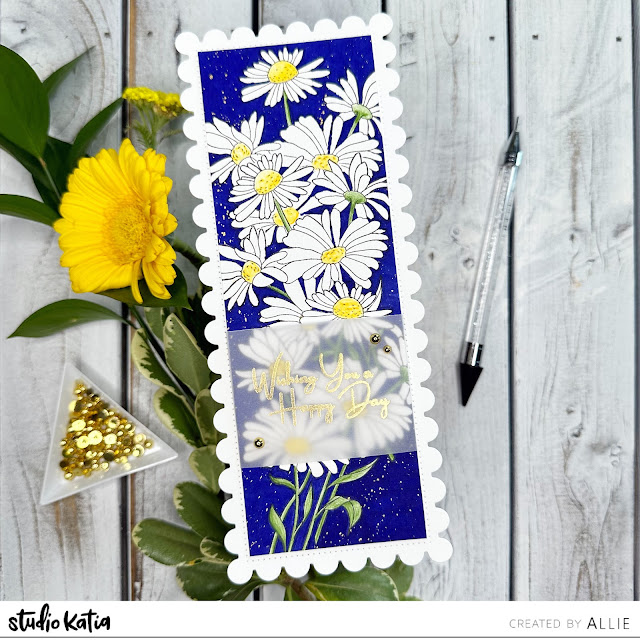
I am up on the Studio Katia Blog this morning sharing a birthday card featuring the Daisy Bunch stamp set. I have so many daisies around my place right now that I just had to take this set out! I took out Dotted Slimline Set 3 and cut out two scalloped backgrounds in white cardstock. I took one of them and cut off the scallops along the dotted lines and set aside the one still in tack to use later. I stamped the daisies at the bottom of the panel in black ink and added a mask on top so that I could stamp another daisy bunch above. I added another mask on top and stamped a third daisy bunch at the top of the panel. I removed the masks and set them aside for later.
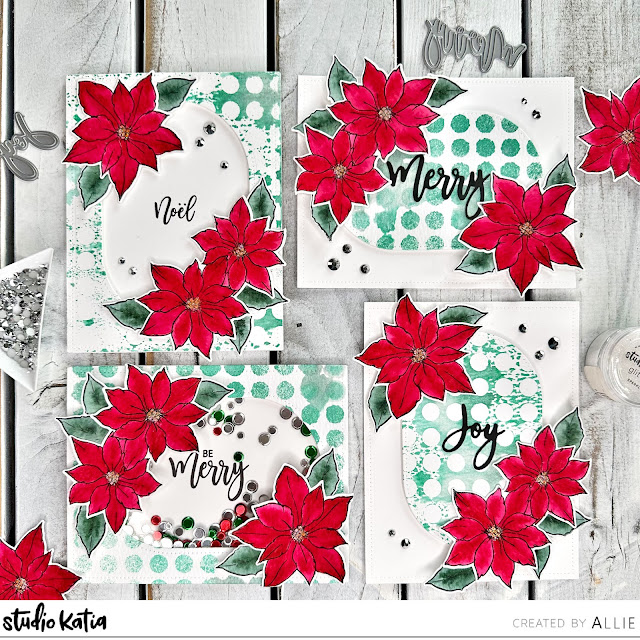
Good morning! I am up on the Studio Katia Blog this morning getting a jump start on my Christmas card stash. With all of the Christmas in July inspiration out this month, I decided to take out one of my favourite Studio Katia Christmas sets: Merry Poinsettia. I tried out the following technique so that I could make four coordinating cards all at once.